First recording
When you have instantiated all the necessary actors, you can make the first recording. But there are a few extra steps to follow before you can start recording.
First, you need to mark the objects of interest appropriately. This is described more in detail in Object transformations. Then, you need to
The output of the following tutorial can be also found in the plugin content folder in the Demo\FSP_Map_Demo Unreal Map. You can open it to get the feel for the following steps.
The following steps expect you have already setup the project as per previous tutorial and have all the necessary actors in the scene (FSPLogger, FSPManager, FSP ObjectManager and FSPRecorder)
Marking objects
In this step, you will mark a few objects as important and trackable by the FSP recorder.
Mark a few objects with FSPObject component
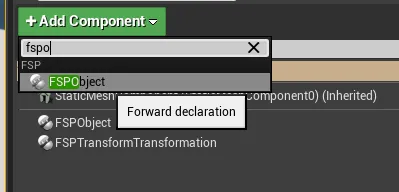
You should see them popup in the FSP editor mode as being present in the scene.
Second, you need to add a camera track.
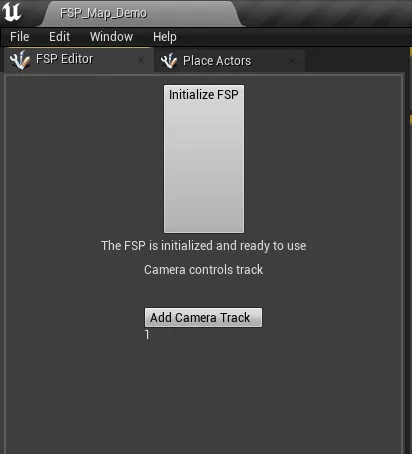
Click on Add camera track, it is being automaticaly added to the level

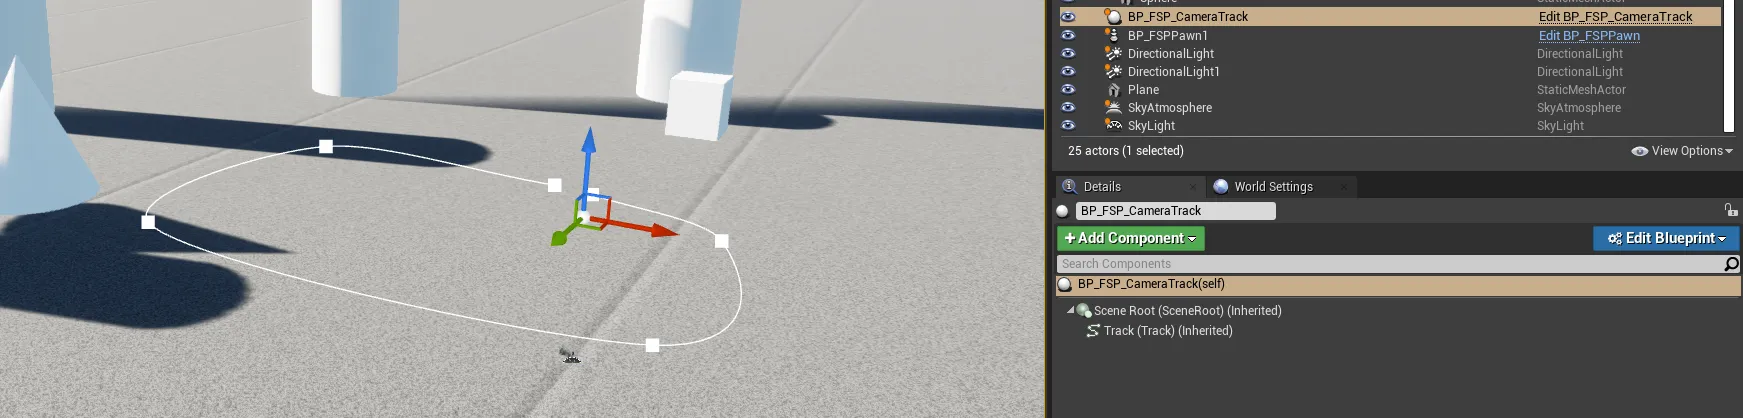
Double click it and edit the attached spline component until you have viable camera track ready
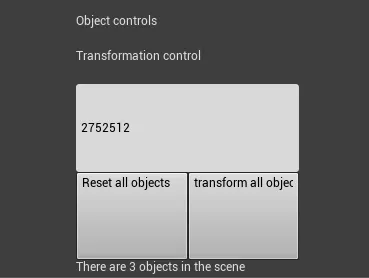
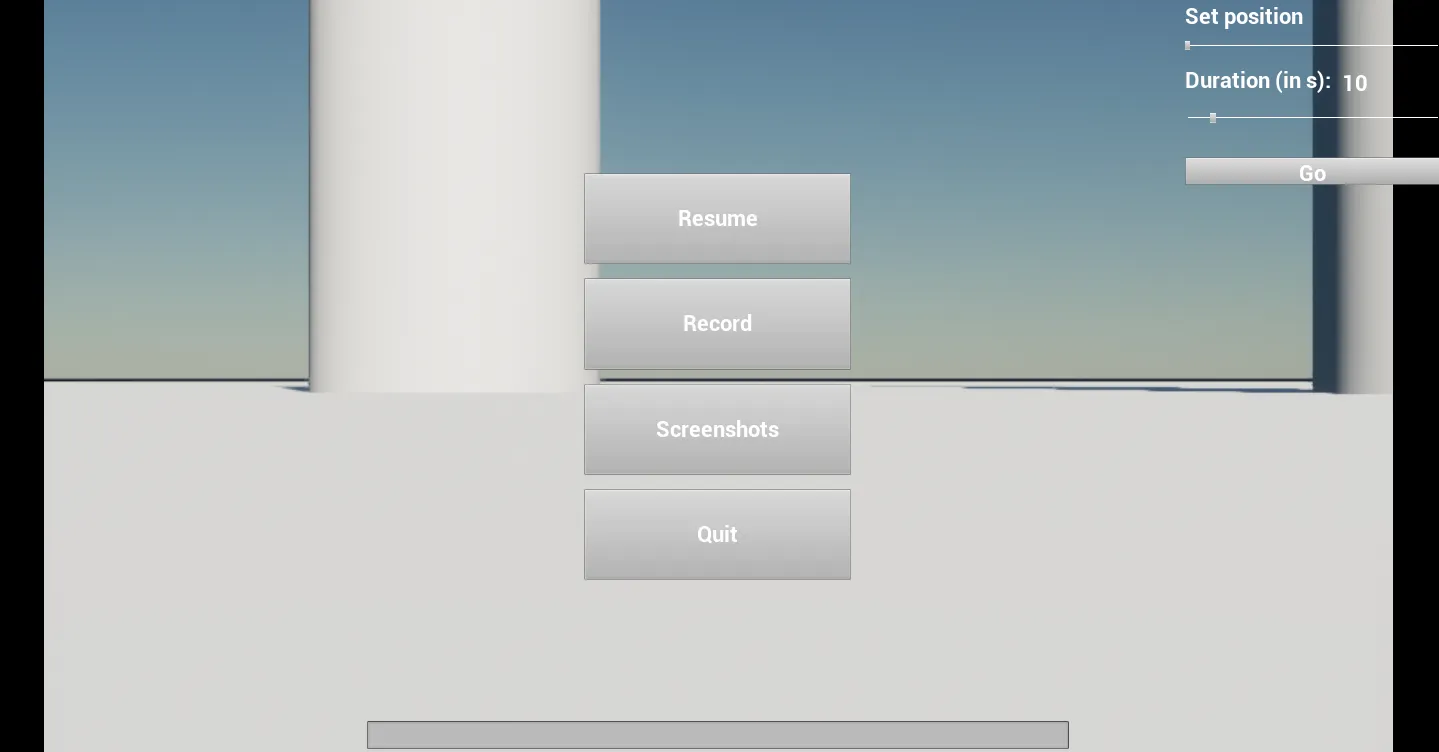
You can start the level in Unreal editor and press E to get to the menu
Click on record
If everything goes well, the camera should zip along the track and to the end, recording the positions